DIY pots 2 


Part 2 of DIY training pots. This time using regular plastic nursery/garden pots.

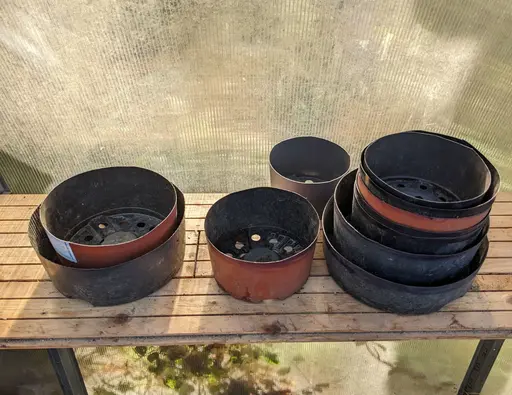
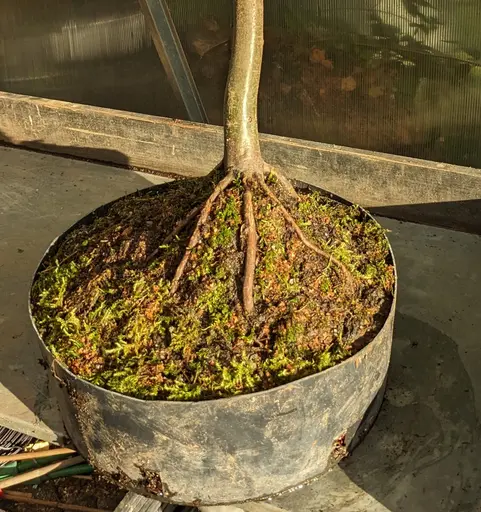
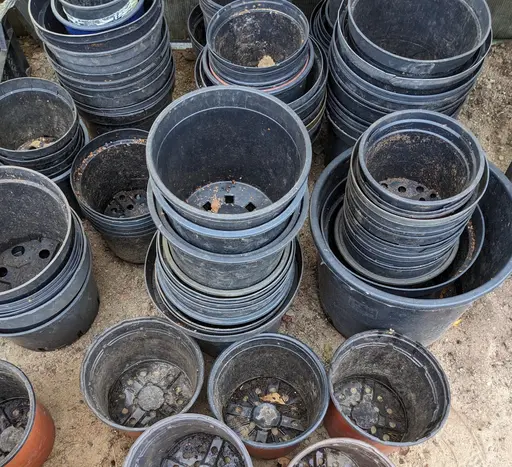
Hoarding plants means also hoarding nursery pots. Keeping some of them is useful for planting other seedlings and plants, as needed. But there's a limit on how many one can keep in storage. Instead of just throwing them away, we can make bonsai training pots out of them. That way they also keep less storage space.

Hoarded plastic nursery pots.

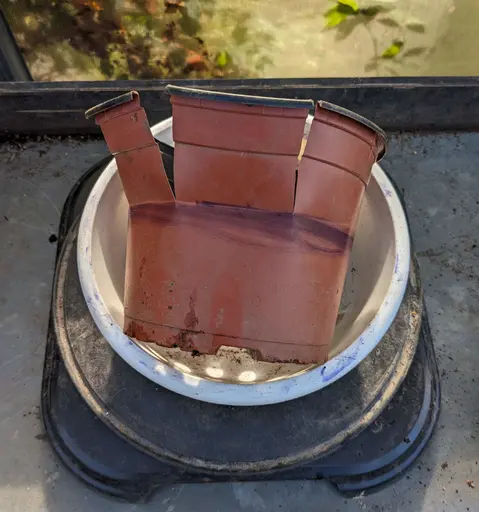
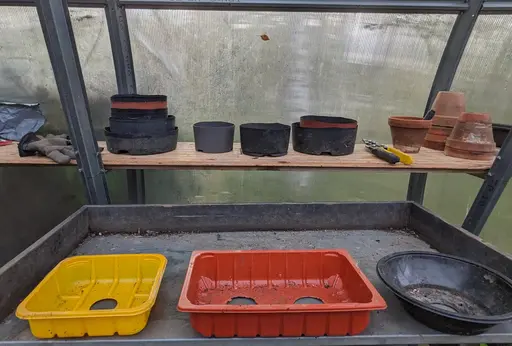
First step is to mark the desired height of the training pot. I use a wider bowl/tray and the bonsai round-table for that. You can also do it more precisely with a ruler - placing several initial marks around the plastic pot.

Mark the rim of the training pot.
terracota-colored plastic nursery pot, marked around with a black marker at desired height for cutting

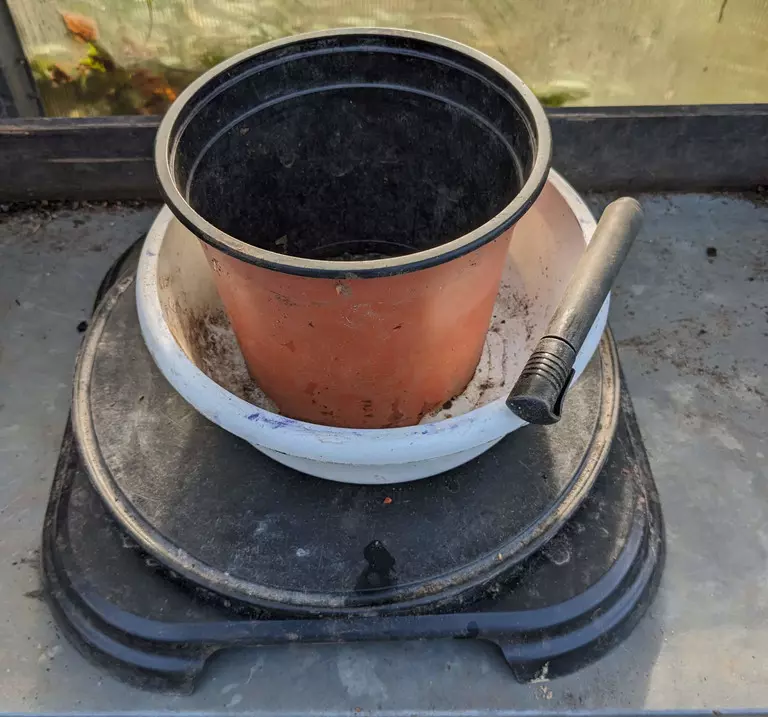
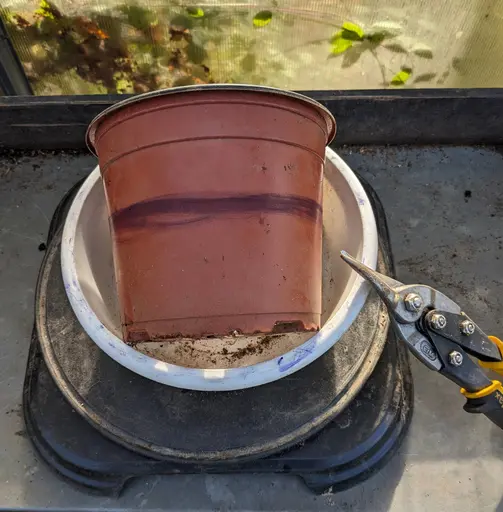
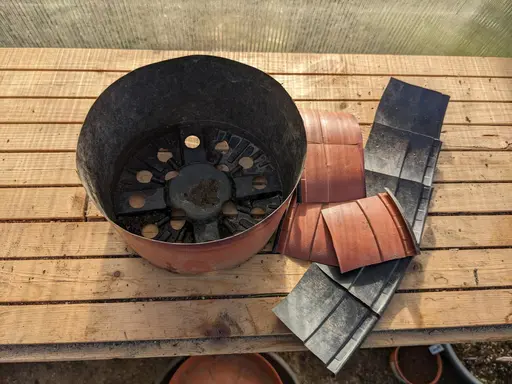
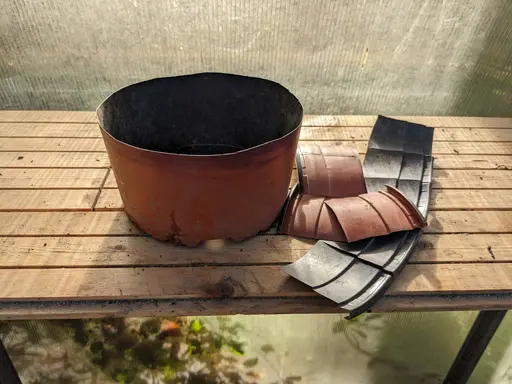
Using scissors or snips (tin snips in the image above), cut the side of the pot all the way down to the marking. Repeat at several positions around the pot, so that the upper part of the pot is sliced into several "wings" .

terracota-colored plastic nursery pot, cut several times around, from top down to marked desired circumference
Now cut along the marking to separate the "wings". The training pot is thus revealed.
The final training pot, with the separated upper portion of the nursery pot.
Using different sizes of pots, and cutting to different heights gives a variety of training pots.
... in addition to those described in the previous DIY pots article.
European hornbeam in a DIY training pot